Gas pizza ovens
The first burn: setting up a new gas pizza oven properly
The first evening decides whether the oven becomes a habit or a garage ornament. Forty minutes of setup, in the right order, and none of it is difficult.
The short answer
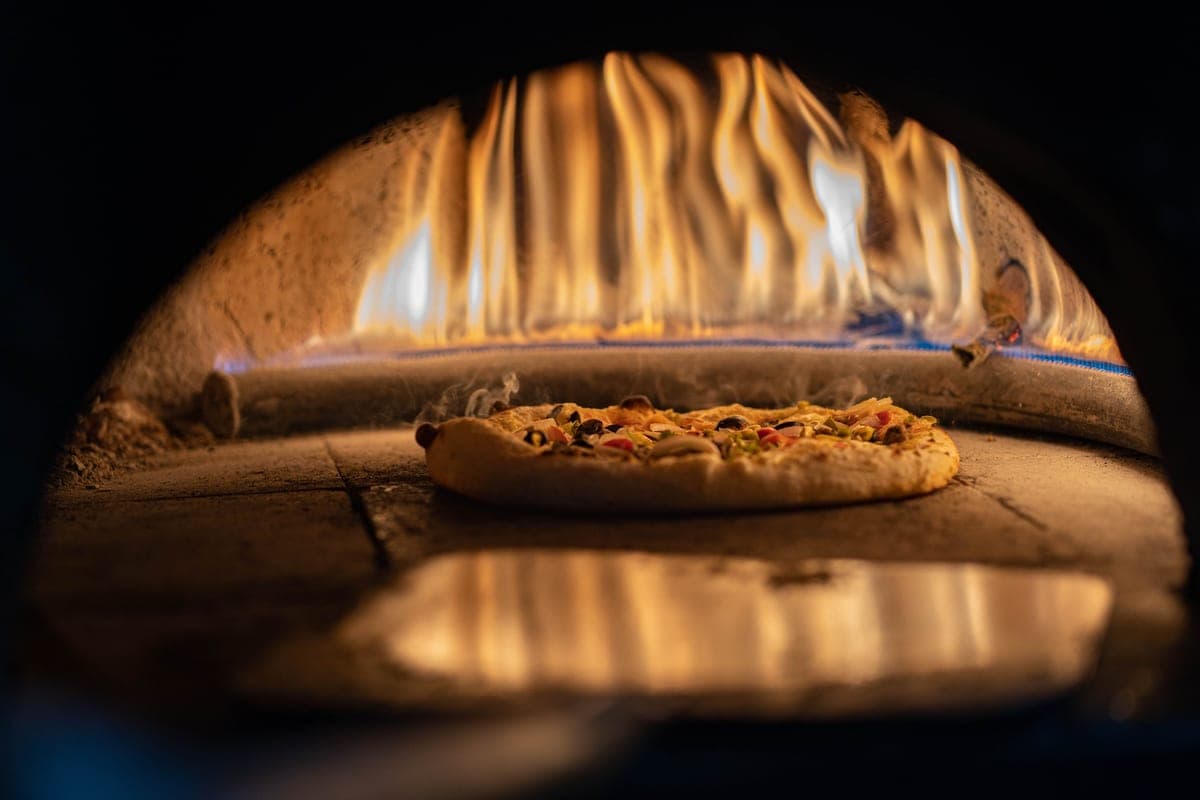
In order: read the manual's burn-off instruction and follow it, leak-check every joint with soapy water, seat the stone correctly, preheat for at least 20 minutes and confirm the stone temperature rather than trusting a dial, and make your first pizza smaller than you think. Most disappointing first attempts are an under-heated stone and an over-ambitious pizza.
1. The burn-off is not optional, and it is not seasoning
Pizza ovens do not need seasoning the way cast iron does — there is no oil layer to build. What they do need is an initial run at temperature with nothing in the chamber, to burn off manufacturing residues from the steel, the coating and the stone. Almost every maker specifies this and the specifics vary, which is why the instruction here is to read your own manual rather than to follow a generic time.
Expect some smell and possibly light smoke on the first run. That is what it is for. Do it before any food goes in, not after.
2. Leak-check the gas connections
Every propane appliance needs this, every time you connect a fresh cylinder, and it takes ninety seconds. Mix a little dish soap into water, brush it over the regulator connection, the hose ends and the valve, then open the gas with the burner off. Bubbles mean a leak. Close the valve, reseat the connection, test again.
3. Seat the stone flat, and dry
Cordierite is thermally shock-sensitive. It goes into a cold oven and heats with it — never onto a hot floor, and never wet. A stone that has absorbed moisture and is then taken to 900 F can crack as the trapped water flashes to steam, which is the single most common way these stones die and the reason winter storage matters.
Make sure it is sitting flat in its recess with no rocking. A stone that rocks makes contact unevenly, and uneven contact is uneven base browning.
4. Preheat longer than the marketing says
Makers publish times to reach peak temperature — 15 to 20 minutes typically. That is the chamber reaching temperature, measured at the roof. The stone lags it, because a slab of ceramic takes longer to heat through than the air above it.
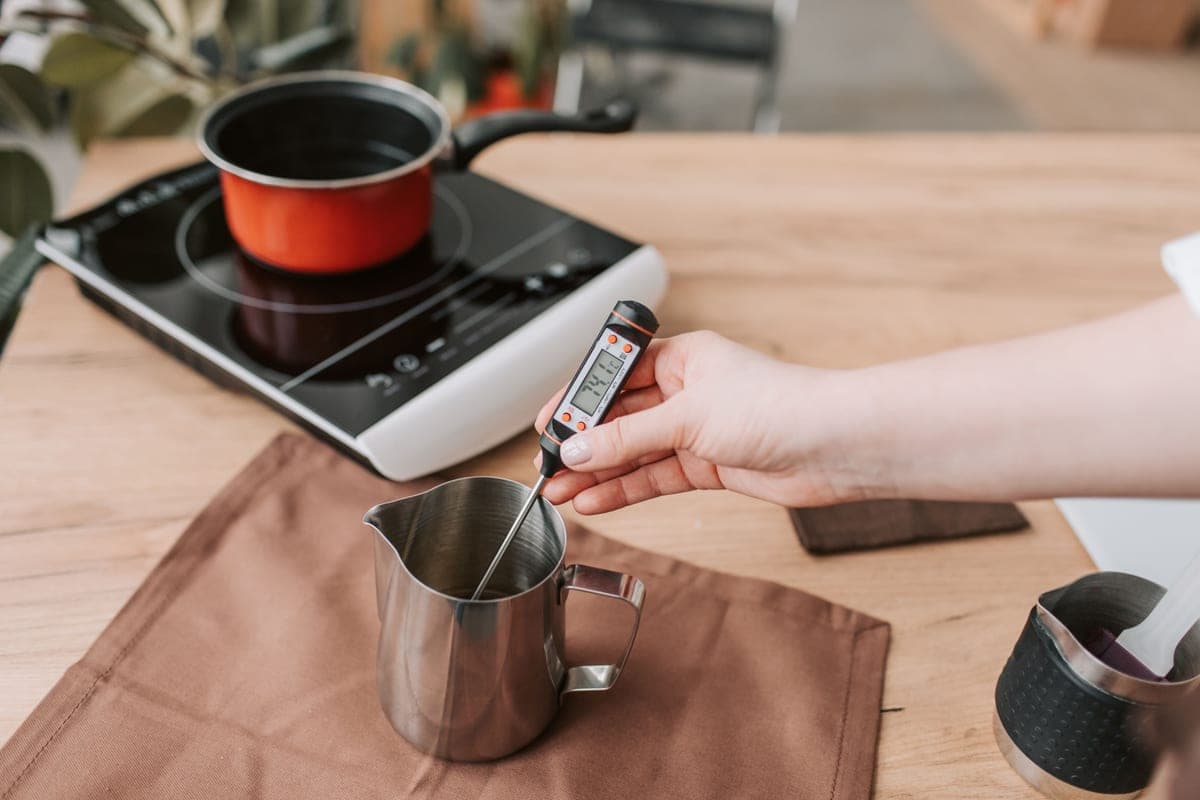
This is where an infrared thermometer stops being a luxury, and how long to preheat has the published time for every oven on this site. Point it at the center of the stone. If your target is a Neapolitan bake you want the floor somewhere around 800 to 900 F; if it reads 600 F while the dial says the oven is ready, the dial is not wrong, it is just measuring something else. Give it another five to ten minutes.
5. The first launch
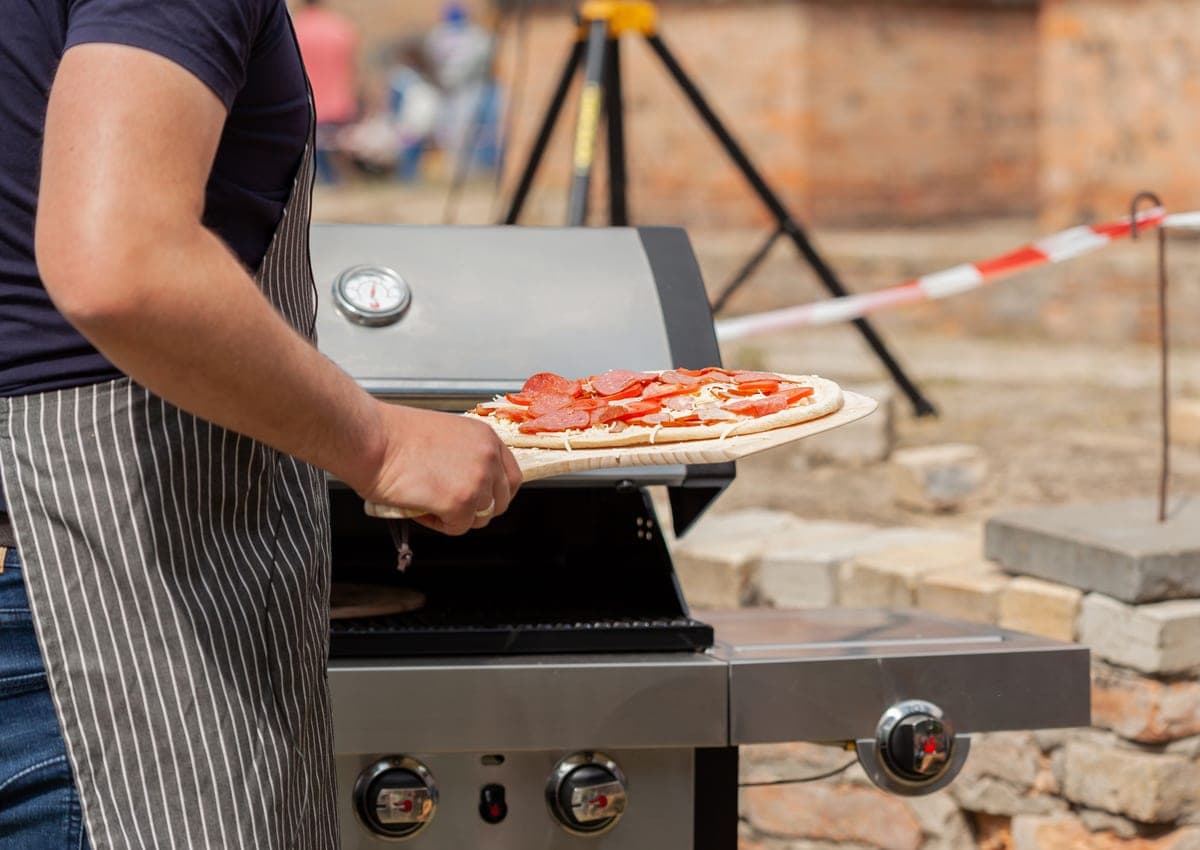
Make the first pizza 10 in rather than 12, and top it lightly. A smaller, lighter pizza is dramatically easier to launch, and the first launch is the skill everyone lacks.
- Build the pizza on a lightly floured peel — semolina works better than fine flour because it rolls rather than sticks — and build it fast. The longer a topped pizza sits on a peel, the more it welds itself down.
- Before launching, shake the peel gently. If the pizza does not slide freely, it will not launch; lift an edge and get more semolina underneath.
- Get the peel tip close to the back of the stone, tilt slightly, and pull the peel out from under the pizza in one confident motion. Hesitation is what folds pizzas.
- Turn it after about 20 to 30 seconds, and keep turning — see the turning technique.
6. What to do between pizzas
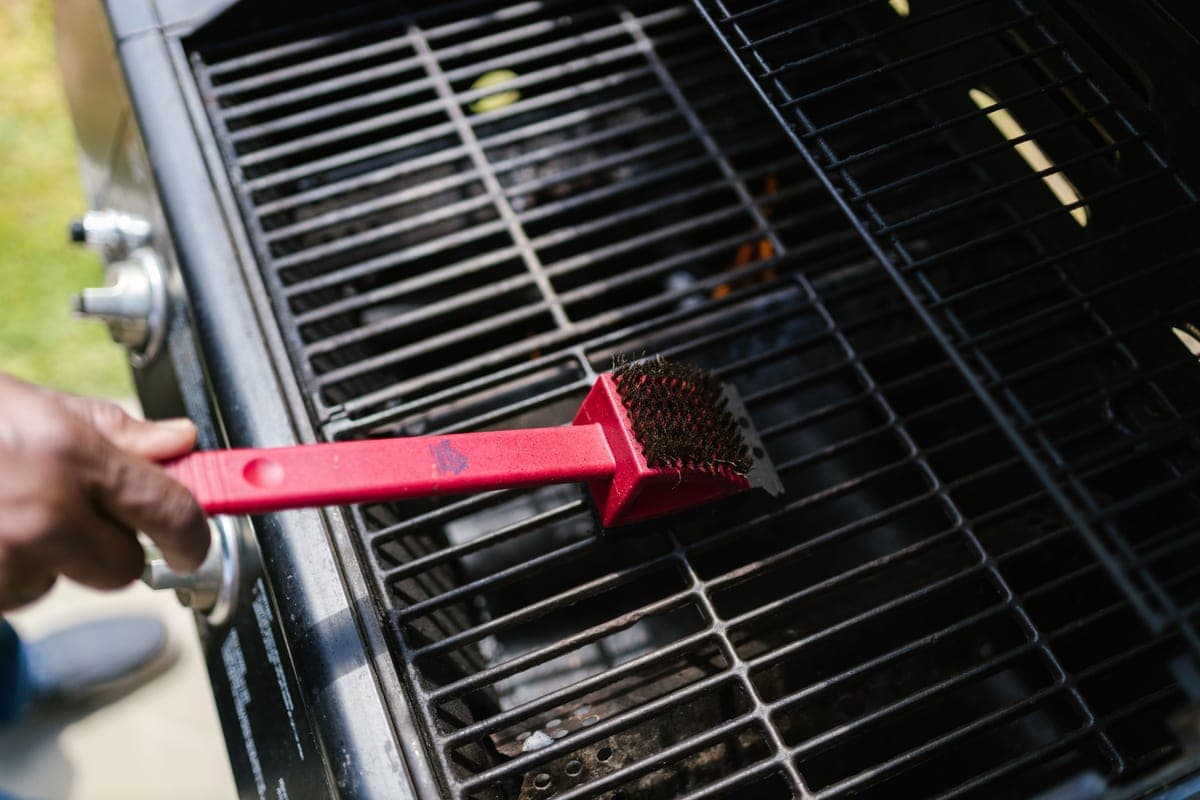
Brush the loose flour off the stone. Burnt semolina from the last launch will smoke and taste bitter under the next pizza, and this is the main argument for a perforated peel, which sheds most of that flour before it ever reaches the floor.
If the base is browning slower than the first pizza did, that is the stone giving up heat. Give it two or three minutes with the burner up rather than pushing on — the fix is time, not flame.
Quick picks
Ranked for fit, not for hype. Every figure below is the maker’s own published number, and “n/p” means they do not publish it — which is itself worth knowing. Tap a row for the full write-up, or go straight to the listing.
| # | Oven | Best for | Max pizza | Weight | Price |
|---|---|---|---|---|---|
| 1 |  Etekcity 1080Reads to 1130 F with adjustable emissivity. | Reading a stone that is actually at 900 F | n/p | n/p | $24.99 · Check on Amazon |
| 2 |  Ooni 14" Signature peelHard-anodized perforated aluminum on a long walnut handle. | The one peel to own | 14" | n/p | $90.00 · Check on Amazon |
Max pizza and weight are the makers’ published figures, sourced on each write-up below. Neither is a measurement we took, and no column here is a score — we have not cooked on these ovens and will not pretend otherwise.
Top pick · Reading a stone that is actually at 900 F
Etekcity Lasergrip 1080 Infrared Thermometer
Etekcity · Accessory
Reads to 1130 F with adjustable emissivity. The range matters: a thermometer that stops at 750 F cannot tell you anything useful about a pizza oven floor.
Published specification
- Range
- -58 F to 1130 F
- Emissivity
- Adjustable, 0.1 to 1.0
- Distance-to-spot
- 12:1
- Not for
- Measuring people
What it does well
- 1130 F clears a 950 F stone with margin, which is the only spec that matters here
- Adjustable emissivity is what lets it read dark cordierite accurately rather than defaulting to 0.95 and being wrong
- 12:1 means a usable reading from about 14 in — outside the oven mouth, not inside it
What you give up
- Infrared reads a surface, never an air temperature. The number is your stone, not your oven
- A 12:1 cone averages a wide patch at distance, so stand close and read the center
- Cheap infrared units drift; treat it as a repeatable relative reading, not a laboratory value
Buy it if
Every oven without a built-in stone-temperature readout, which is most of them.
Skip it if
Ovens with a digital floor probe already fitted, like the Ooni Connect hub models.
Where these numbers came from
Pick 2 · The one peel to own
Ooni 14" Signature Perforated Pizza Peel
Ooni · Accessory
Hard-anodized perforated aluminum on a long walnut handle. The perforations shed the flour that otherwise burns on your stone, and that is the whole argument.
Published specification
- Head
- 14" anodized perforated aluminum
- Handle
- Long walnut wood
- Why perforated
- Excess flour falls away and steam escapes before launch
What it does well
- Perforation is the single feature that most reduces the burnt-flour smell and the black speckling on the base of a pizza
- Hard anodizing gives a smoother release surface than bare aluminum, which is the other half of a clean launch
- The handle is long enough to keep a forearm out of a 950 F mouth
What you give up
- A 14 in head does not fit through a 12 in or 13 in oven mouth comfortably — match the peel to the oven, not to the pizza
- Metal peels are poor at holding a raw dough while you top it; a wooden or bamboo peel is better for building on
- This is Ooni's premium peel and it is priced like it — the plain perforated version does the same job for less whenever it is back in stock
Buy it if
Any 14 or 16 in oven, and the peel to buy first.
Skip it if
12 in ovens, and cooks who build the pizza on the peel rather than on the counter.
Where these numbers came from
How these picks were made
We did not cook on these ovens. Every figure on this page is the maker’s or the listing’s published specification, cited on each write-up so you can check it in one click. The ranking comes from matching those published capabilities to a stated use case — space, pizza size, fuel, and how many pizzas you cook in a row. Where a maker does not publish a number, we say so instead of estimating one.
The full version of that argument, including what we deliberately do not claim, is on our methodology page.